Warehousing: Snowflake Migration for Existing Customers
If you are already on the Snowflake integration, then you will need to complete the following migration in order to take advantage of the new capabilities.
In order to complete the migration, you will need a Snowflake ACCOUNTADMIN role to run a query (see below).
Contact Rockerbox
Before you get started, contact your Rockerbox Customer Success Manager. They will provide you a query that's required to complete the migration.
Steps Completed by Rockerbox
Rockerbox created a new database with updated Data Schemas for all your existing tables. This table has also been backfilled to each Conversions First Reporting Date.
These new tables will run concurrently with the existing tables until you confirm you completed the migration.
You will need to create a new synced database in order to access and query these tables.
Steps Required by You
Take the following steps to complete the migration:
- Run a new Snowflake query obtained by Rockerbox in order to set up a new Database. You must be have an ACCOUNTADMIN role to complete this step. You must also be in the same region as the Snowflake instance.
The query will look like:
CREATE DATABASE rockerbox FROM SHARE IDENTIFIER('abc12345."rb_your_pixel_source_name"')
You can replace the rockerbox database with another name. If you already have an existing database named rockerbox, you must use a different name. In any case, do not edit the rest of the query we provide to you.
- Update your existing queries to point to the new database tables.
- Confirm with Rockerbox that you completed the migration.
Once you acknowledge that you completed the migration to the new tables, then Rockerbox will disable syncing the old tables. They will no longer be available after the migration.
Authorization Error
If you encounter an error such as:
- Share '---' does not exist or not authorized.
when running the query in the steps above, then instead proceed to the Alternative Steps below.
Alternative Steps to Create the Database
If the previous steps didn't work for you, then instead go to your Snowflake console to finish the configuration.
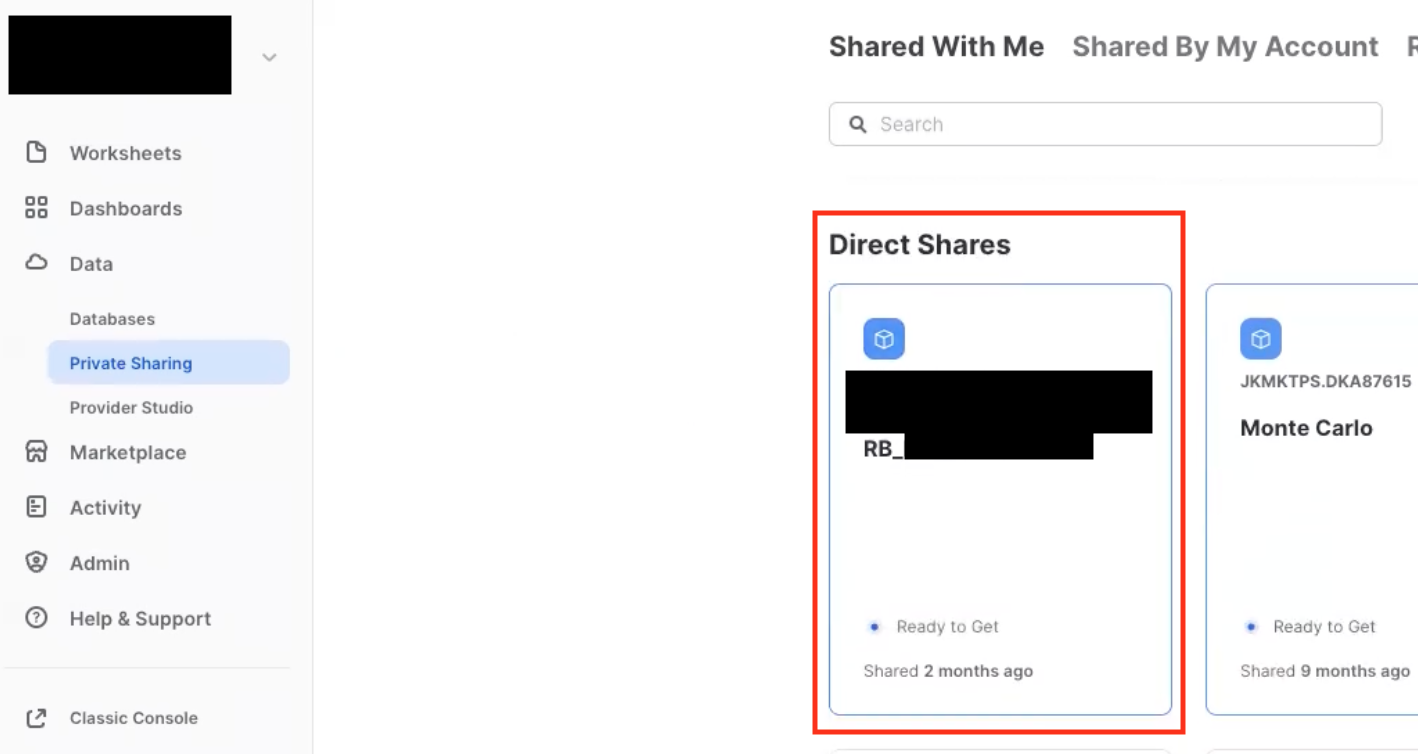
- Go to Data > Private Sharing
- Find the Rockerbox share, which will be of the form RB_{your Rockerbox account name}
- Click the Share

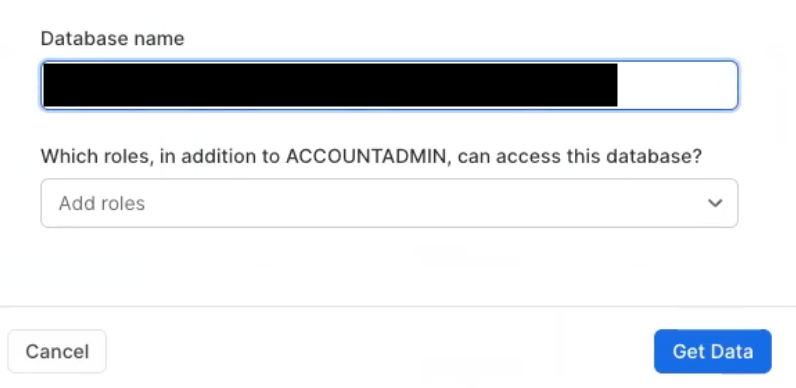
- Optional: rename the Database name
- Optional: add roles. Recommended practice is to copy the same roles that you used for your historical Snowflake database.
- Click Get Data

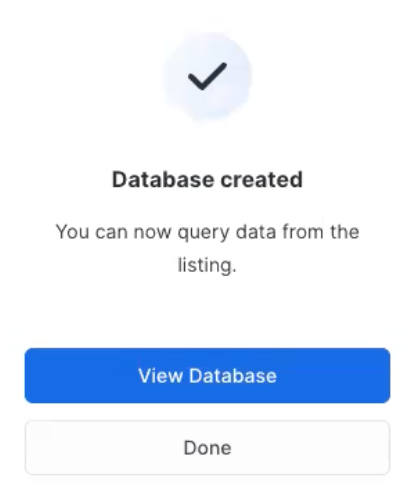
- You should see a Database created confirmation

Optional: Add New Datasets
The new Snowflake integration supports additional datasets. Check out Data Schemas and Adding Datasets for steps to add these to your warehouse integration.
Updated almost 2 years ago
